
How to Carve Useful Survival Tools From Wood: A Comprehensive Bushcraft Guide
Unleash your inner woodsman and master the art of bushcraft! This guide will show you how to carve essential survival tools directly from wood, transforming natural resources into functional gear for any outdoor adventure. Discover essential wood carving techniques and elevate your survival lifestyle.
The Fundamental Importance of Bushcraft Skills
Bushcraft, at its core, is the practice of wilderness survival and living skills. It’s about understanding and utilizing the natural environment to meet your needs without relying on modern conveniences. Mastering bushcraft skills not only enhances your ability to survive in the wild but also fosters a deeper connection with nature and a greater appreciation for self-reliance. Among the most crucial bushcraft skills is the ability to craft tools from available materials, and wood, being abundant and versatile, is the primary medium for this endeavor.
In any survival scenario, or even during a challenging outdoor adventure, having the right tools can make the difference between success and failure, comfort and hardship. While carrying a pre-made kit is practical, the true essence of bushcraft lies in knowing how to create what you need when you need it. Wood carving, therefore, is not just a hobby; it’s a fundamental skill that empowers you to fashion implements for shelter building, fire starting, food procurement, and self-defense.
Choosing the Right Wood for Your Survival Tools
The success of your wood carving projects hinges significantly on the type of wood you select. Not all wood is created equal when it comes to durability, workability, and suitability for specific tools. Understanding the properties of different wood types is a vital step in your bushcraft journey.
Hardwoods vs. Softwoods:
- Hardwoods: These generally come from deciduous trees (like oak, maple, hickory, ash, walnut) and are known for their density, strength, and durability. They are excellent for tools that require resilience and a sharp edge, such as knives, axes, or spearheads. However, hardwoods can be more challenging to carve, requiring sharper tools and more effort.
- Softwoods: These originate from coniferous trees (like pine, spruce, fir, cedar) and are lighter, less dense, and easier to carve. While not as durable as hardwoods for heavy-duty tools, they are perfect for crafting items like fire-starting kits, tinder containers, spoons, or even temporary shelter components. Their ease of working makes them ideal for beginners learning wood carving techniques.
Other Considerations:
- Green Wood vs. Dry Wood: Green wood (freshly cut) is softer and easier to carve but can warp or crack as it dries. Dry wood is harder but more stable and durable once carved. For many survival tools, starting with seasoned (dried) wood is preferable for longevity.
- Wood Grain: Look for wood with a straight, consistent grain. This makes carving easier and reduces the likelihood of the wood splitting unexpectedly. Avoid wood with knots, cracks, or signs of rot, as these compromise the structural integrity of your tool.
- Local Availability: The best wood is often what’s readily available in your environment. Learning to identify common trees and their wood properties in your local area is a crucial bushcraft skill.
Essential Wood Carving Tools for Bushcraft
While the ultimate goal is to create tools from wood, you’ll initially need some basic carving tools to get started. These tools should be robust, reliable, and comfortable to use in an outdoor setting. Investing in quality is key, as your tools will be an extension of your hands in the wilderness.
Core Carving Tools:
- Bushcraft Knife: This is arguably the most important tool in your bushcraft kit. A fixed-blade knife with a sturdy tang and a comfortable grip is essential for various carving tasks, from shaping wood to making feather sticks for fire. Look for a blade made of high-carbon steel, which holds a sharp edge well.
- Sloyd Knife (Carving Knife): Specifically designed for wood carving, a sloyd knife has a blade that is typically shorter and thicker than a bushcraft knife, with a distinct sweep towards the tip. It allows for more precise control and detailed work.
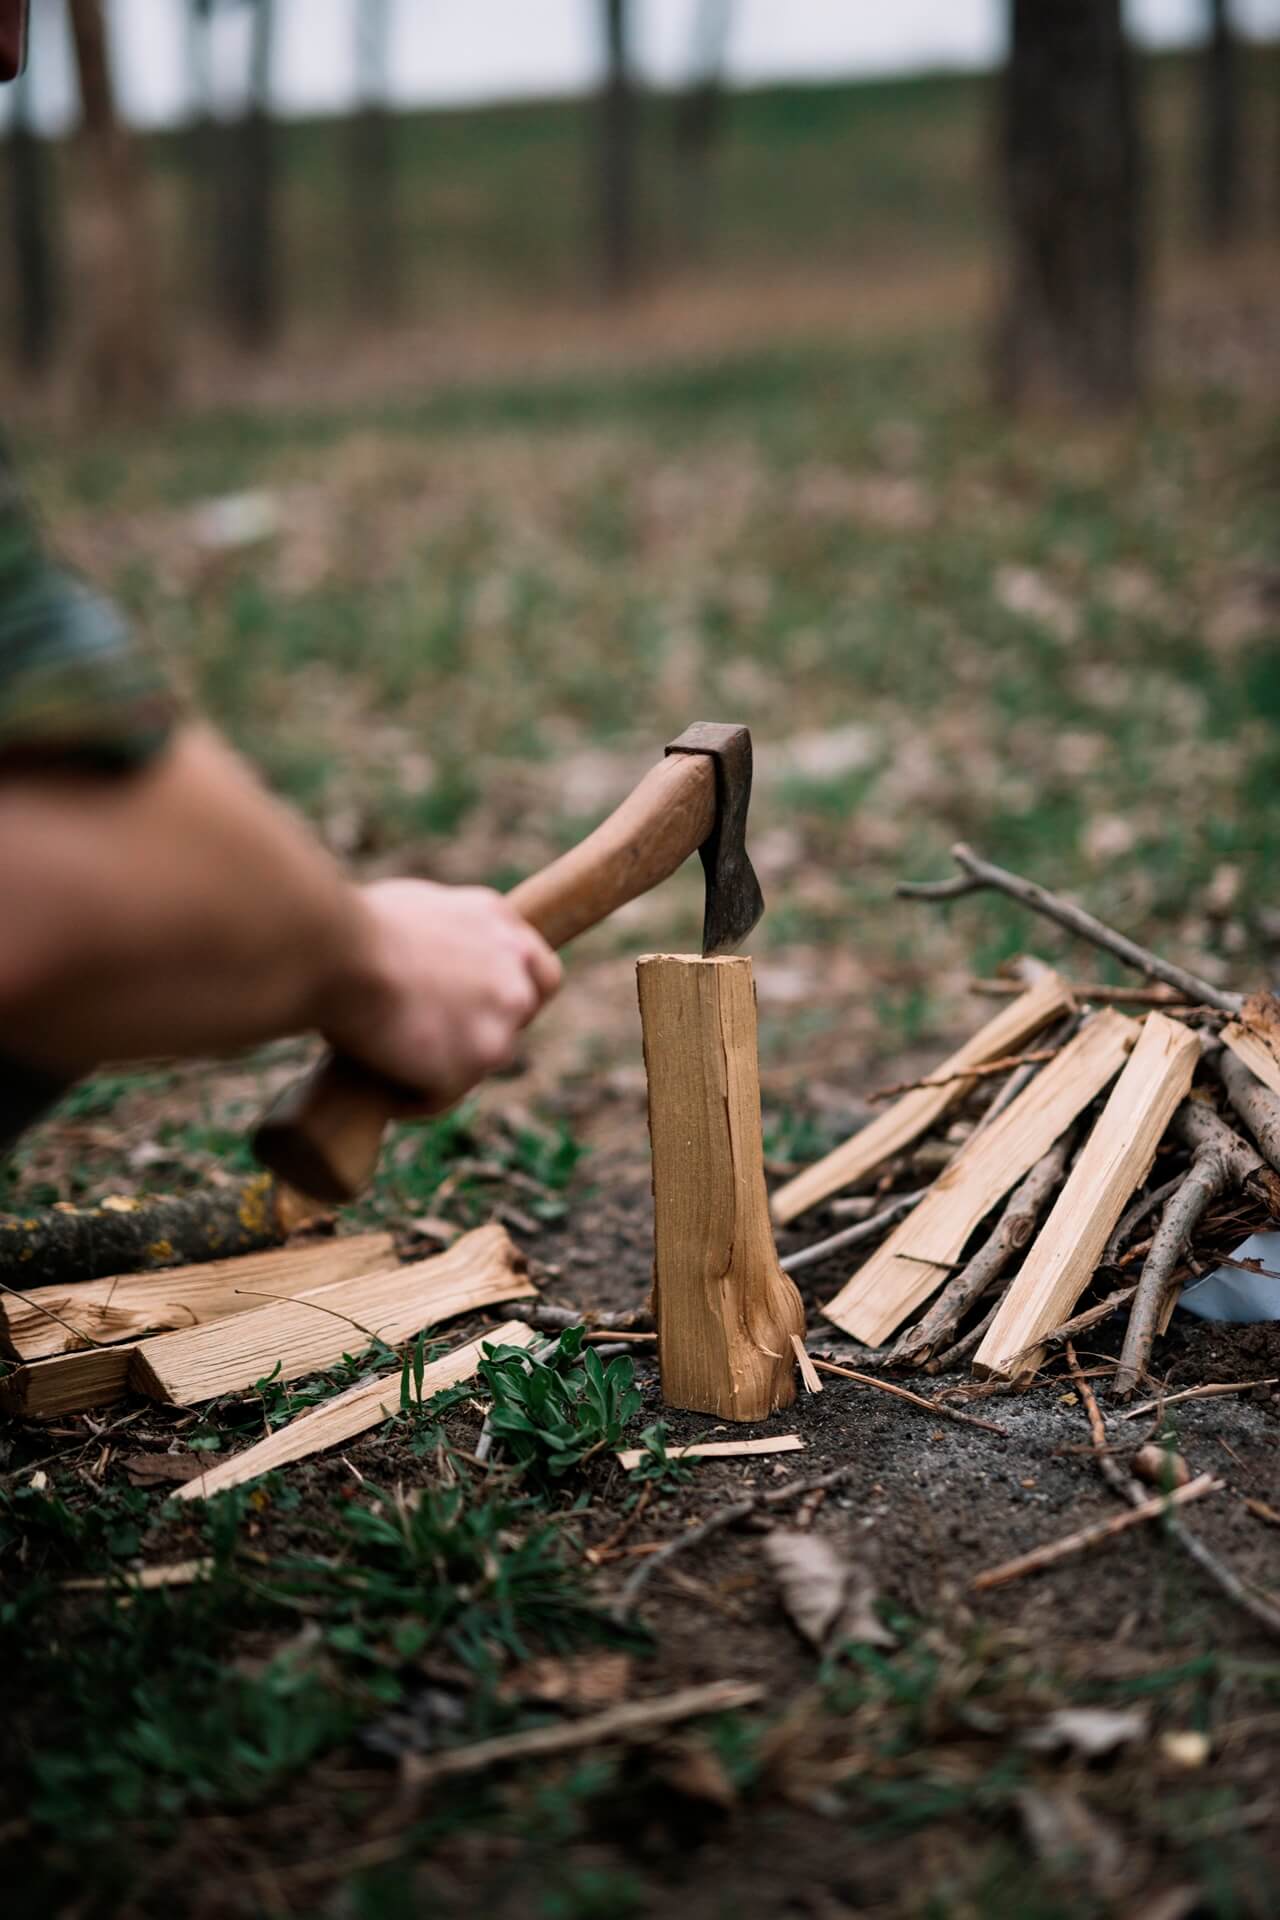
- Small Axe or Hatchet: For rough shaping, splitting wood, and creating larger components for tools or shelters, a good quality hatchet is invaluable. It allows you to quickly remove larger sections of wood and prepare blanks for finer carving.
- Saw (Optional but Recommended): A folding saw or a small bow saw can make cutting wood to length much more efficient than using an axe or knife alone. This conserves energy and allows for cleaner cuts.
- Sharpening Stone/System: No carving tool is useful if it’s dull. A portable sharpening stone or system is crucial for maintaining a razor-sharp edge on your knives and axe, ensuring safe and efficient work.
Remember, in a true survival situation, you might need to improvise or rely solely on a good knife. However, for dedicated bushcraft practice, having these basic tools will significantly enhance your learning and crafting experience.
Step-by-Step: Carving Your First Survival Tools
Let’s dive into crafting some fundamental survival tools from wood. These projects are designed to be achievable with basic carving techniques and a good understanding of your materials.
1. The Wooden Spoon/Bowl
A simple wooden spoon or bowl is incredibly useful for eating, collecting water, or holding small items. It’s also a great introductory project for learning basic spoon-shaping techniques.
Steps:
- Select Your Wood: Choose a piece of green, straight-grained hardwood or softwood, about the size of your hand. Avoid knots.
- Rough Shaping: Using your axe or knife, remove excess wood to create a basic oval or elongated shape for the spoon/bowl. Sketch your desired shape onto the wood surface.
- Forming the Bowl/Scoop: Carefully use your sloyd knife or even the tip of your bushcraft knife to hollow out a depression for the bowl or scoop. Work gradually, removing small shavings. For a deeper bowl, you might use a small gouge if available.
- Shaping the Handle: Carve the handle to a comfortable thickness and shape. Round off any sharp edges.
- Refining and Smoothing: Once the basic shape is achieved, use your knife to refine the curves and smooth out the surfaces. For a smoother finish, you can use fine sandpaper if available, or scrape the wood with a very sharp blade.
- Drying and Curing (Optional): Allow the spoon to dry slowly. If you plan to use it for food, some traditions recommend soaking it in a food-safe oil (like mineral oil) after it’s fully dry.
2. The Wooden Peg/Stake
Simple wooden pegs or stakes are incredibly versatile for setting up tarps, creating rudimentary tripods, securing items, or even as part of a trap trigger. Their strength comes from their shape and the wood used.
Steps:
- Choose Your Wood: Select a straight, strong piece of hardwood, ideally with a diameter of 1-2 inches. The length will depend on your needs, but 12-18 inches is a good starting point. Ensure it’s free of cracks.
- Create the Point: Using your axe or knife, carefully shave away wood from one end to form a sharp, conical point. The sharper the point, the easier it will be to drive into the ground. Be mindful of the wood grain to prevent splitting.
- Shape the Head (Optional): For easier hammering, you can flatten or slightly mushroom the opposite end to create a more stable striking surface.
- Smooth and Harden (Optional): Smooth the body of the stake for easier handling. For added durability, some bushcrafters will char the point slightly over a fire, which hardens the wood.
3. The Fire Bow Drill Components
Creating a friction-based fire starting kit, like a bow drill, is a quintessential bushcraft skill. While it requires practice, crafting the components from wood is immensely satisfying.
Components and Carving:
- Spindle: Find a straight, dry stick of medium-hardwood (like willow, cottonwood, or aspen), about 6-10 inches long and 3/4 inch in diameter. Round one end and taper the other to a blunt point. The body should be as straight and cylindrical as possible.
- Fireboard (Hearth Board): Select a dry, flat piece of softwood (like cedar, pine, or basswood), about 1 inch thick. Carve a small depression near the edge to accept the spindle’s pointed end. Then, carve a V-shaped notch from the edge into the center of the depression. This notch is where the ember will fall.
- Socket (Handhold): This can be a carved piece of hardwood, a stone with a natural depression, or even a tough piece of shell. It needs a smooth, concave surface to hold the top of the spindle and allow it to rotate freely while applying downward pressure. Lubricating the socket with sap or natural oils can reduce friction.
- Bow: Find a strong, slightly curved stick about the length of your arm. String it tightly with a strong cordage (paracord, rawhide, or natural fibers). The bowstring needs to be tight enough to grip the spindle.
The process involves using your knife to shape these components, ensuring they fit together well and function efficiently. This is a project that emphasizes precision and understanding friction dynamics.
Advanced Wood Carving Techniques and Considerations
As you become more comfortable with basic carving, you can explore more advanced techniques and consider different aspects of tool creation.
Creating a Bushcraft Knife Handle:
- Select a piece of dense hardwood that fits comfortably in your hand.
- Shape the wood to match the tang of your blade. This often involves creating a slot or channel for the tang to sit in securely.
- Use epoxy or natural glues (like pine pitch) and pins (made from wood or bone) to secure the handle scales to the tang.
- Carefully shape the handle for ergonomics, rounding edges and ensuring a secure grip.
Crafting a Spoon from a Forked Branch:
- Find a sturdy branch with a natural fork.
- One part of the fork can become the handle, while the other can be carved into the spoon bowl.
- Use your tools to shape the bowl and refine the handle. This method leverages the natural form of the wood.
Working with Different Wood Types: Experiment with various hardwoods and softwoods to understand their carving characteristics. Learn which woods are best suited for different types of tools – for example, using a very durable hardwood for an axe handle and a lighter wood for a container.
Tool Maintenance is Key: Regularly sharpening your carving tools is paramount. A dull tool is not only inefficient but also dangerous, as it can slip and cause injury. Learn to maintain a keen edge on your knife and axe.
Safety First: Essential Precautions for Wood Carving
Wood carving, especially in a bushcraft context, requires a diligent approach to safety. Working with sharp tools and natural materials presents inherent risks.
Always Carve Away From Yourself: This is the golden rule. Direct the cutting motion and the blade away from your body, hands, and legs. When hollowing a bowl, for instance, ensure your holding hand is never in the path of the blade.
Maintain Control of Your Tool: Use controlled, deliberate strokes. Avoid rushing the process. Ensure you have a firm grip on both the wood and the tool.
Keep Your Tools Sharp: As mentioned, sharp tools are safer. A sharp blade cuts cleanly and requires less force, reducing the chance of slips.
Secure Your Workpiece: If possible, use a vise or clamp to secure the wood you are working on. If working in the field without such tools, brace the wood firmly against a stable surface (like a log or the ground).
Wear Appropriate Gear: Consider wearing cut-resistant gloves, especially when learning or working with particularly challenging wood. Eye protection is also advisable to prevent chips of wood from entering your eyes.
Be Aware of Your Surroundings: Ensure you have a clear workspace, free from trip hazards. Inform someone of your location if you are working remotely.
Conclusion: Embracing the Art of Self-Sufficiency
Mastering the art of carving useful survival tools from wood is a cornerstone of bushcraft. It’s a skill that embodies self-reliance, ingenuity, and a profound connection to the natural world. By understanding wood types, utilizing the right tools, practicing safe carving techniques, and dedicating time to hone your craft, you can transform simple branches and logs into indispensable implements for any outdoor adventure or survival situation.
From crafting a basic spoon for a camp meal to fashioning the intricate parts of a fire bow drill, each carved item tells a story of skill, patience, and resourcefulness. These wilderness crafts are not just about making tools; they are about developing a mindset of problem-solving and adaptability. So, grab a piece of wood, your trusty knife, and begin your journey into the rewarding world of bushcraft wood carving. Your next adventure awaits, equipped with tools you made yourself.
What essential wooden tool would you like to learn to carve next? Share your thoughts and experiences in the comments below!
“`AI House